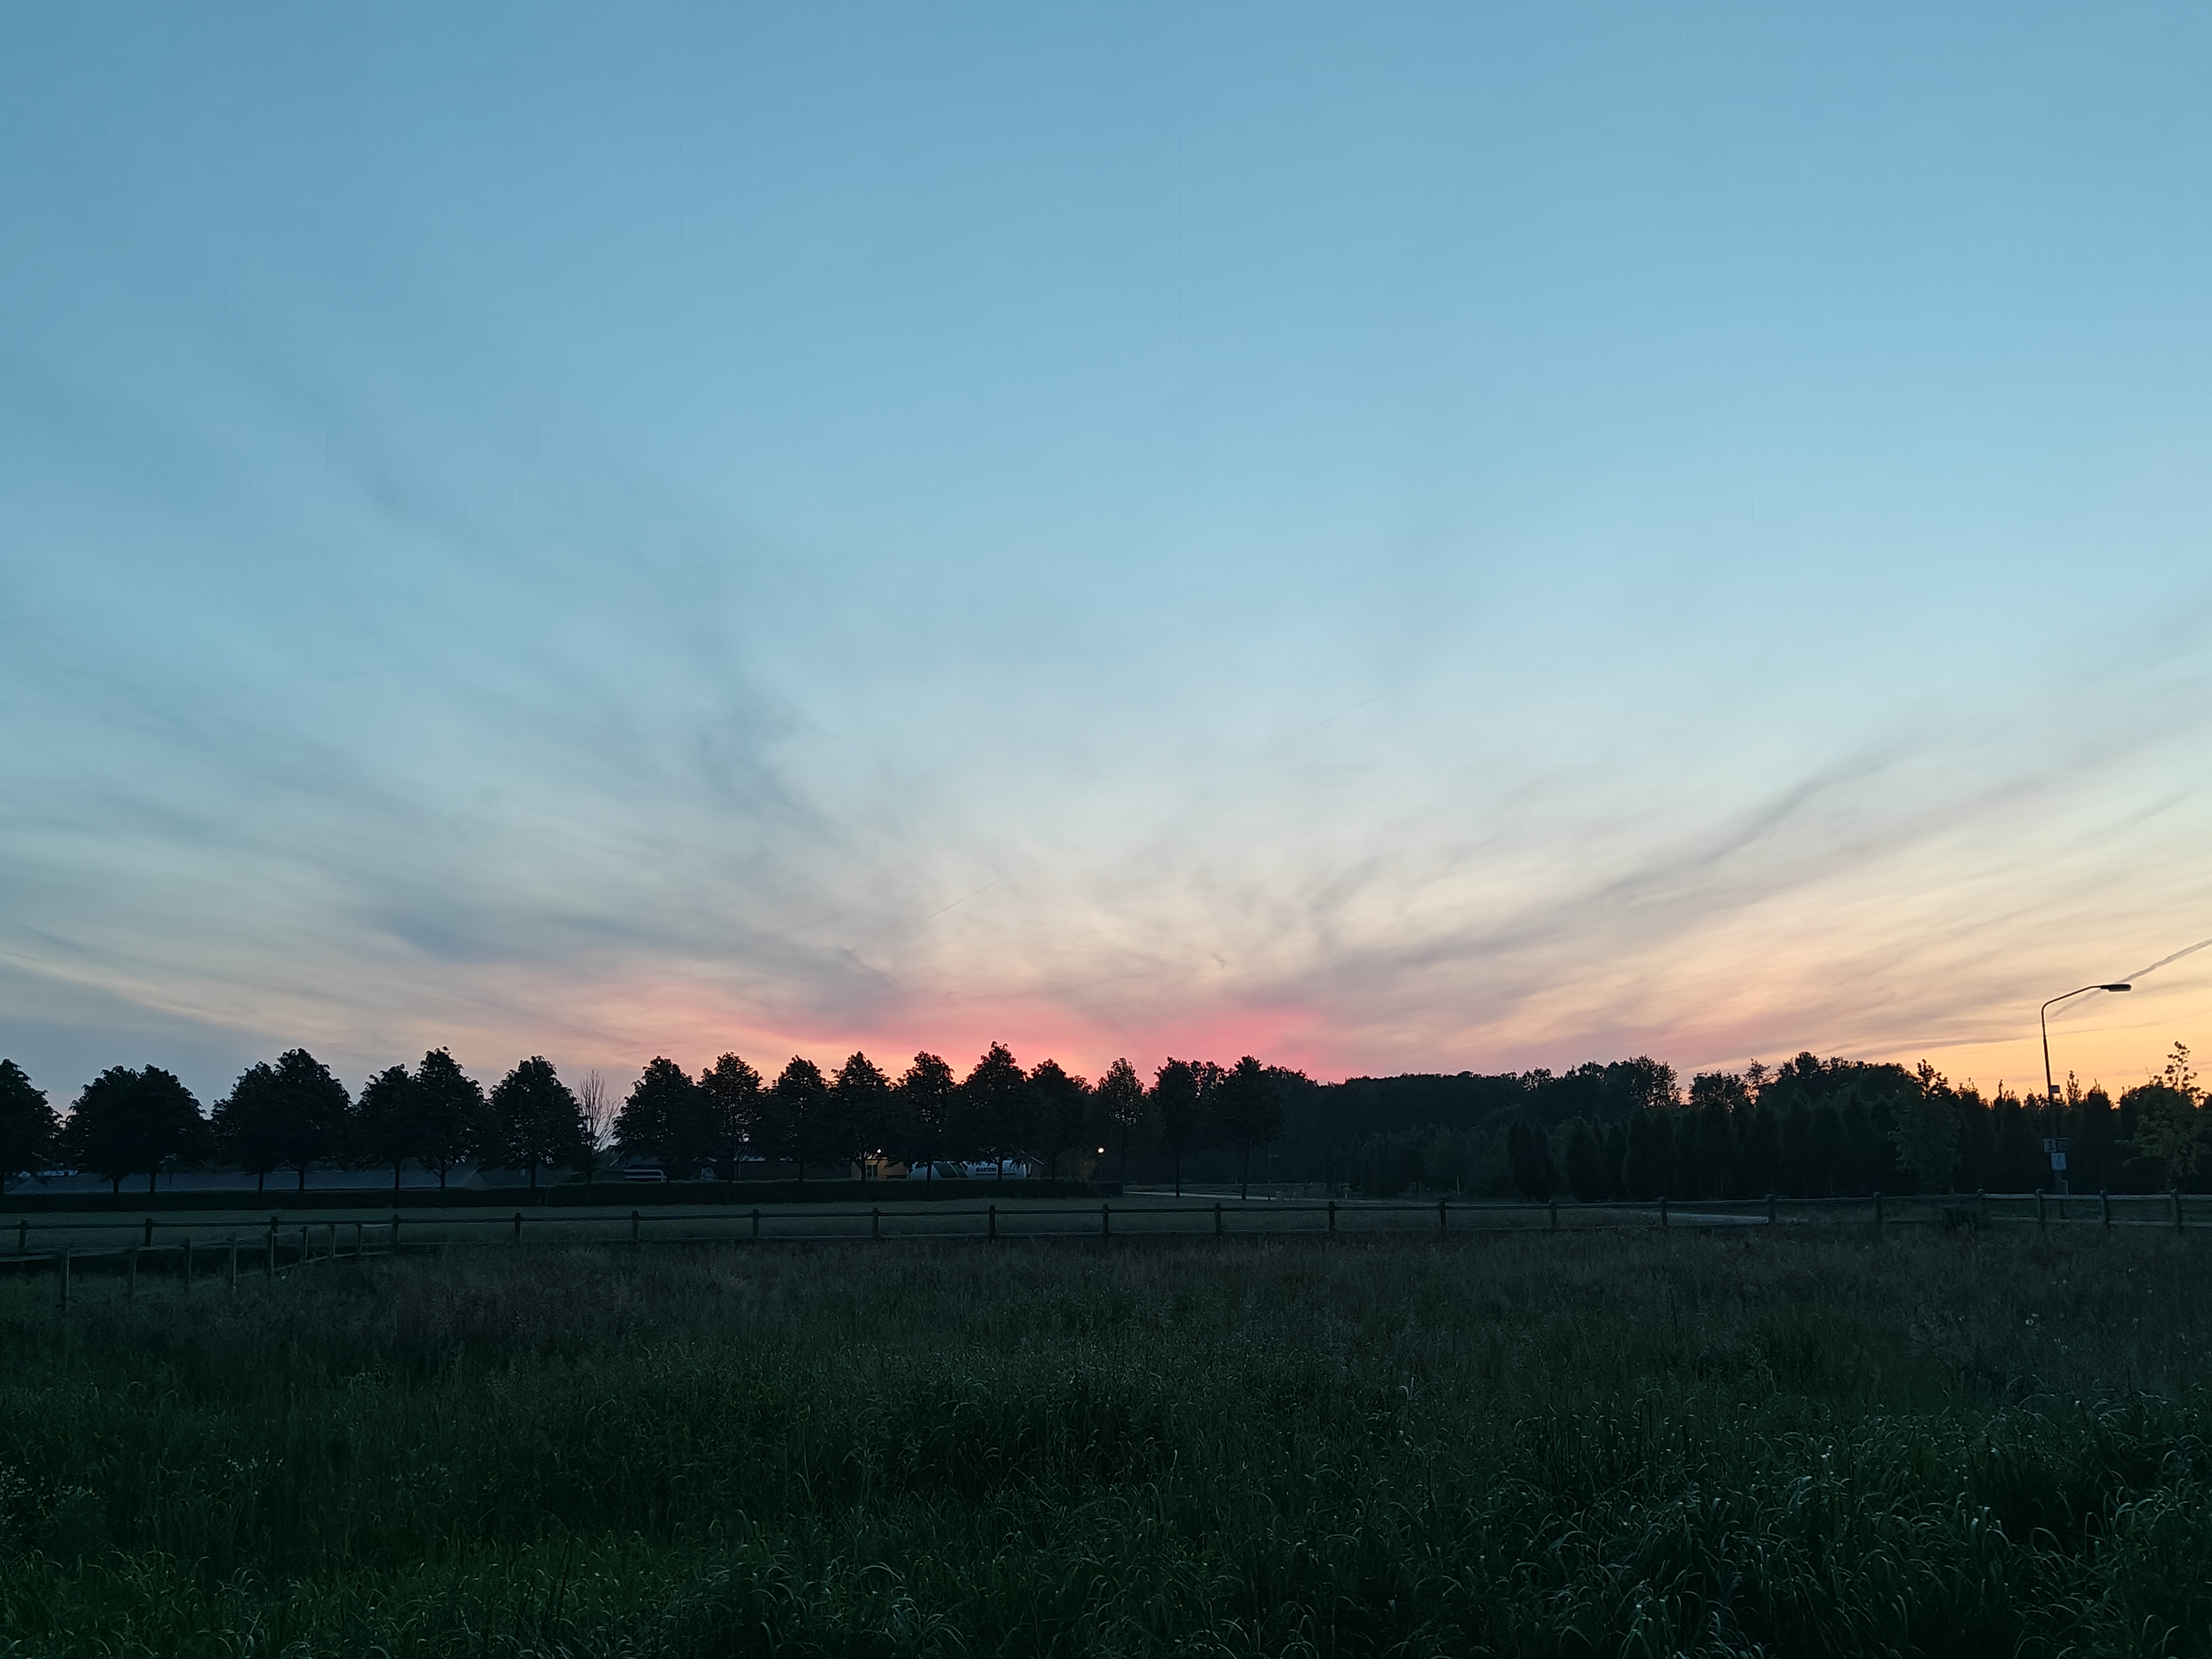
Aurora 11-05-2024
While the aurora reached my area, unfortunately there was too much light to see it well enough.
An astronomy project in the making.
I've always wanted to have an observatory at home. Unfortunately I already have plenty of expensive hobbies, and astronomy glass is expensive. My friend, who has amazing in depth knowledge of 'hobby' astronomy (though I would catagorize it as 'semiprofesional' at this point), suggested this project to get started.
This project page is to keep track of what resources I'm using and how I'm building this camera.
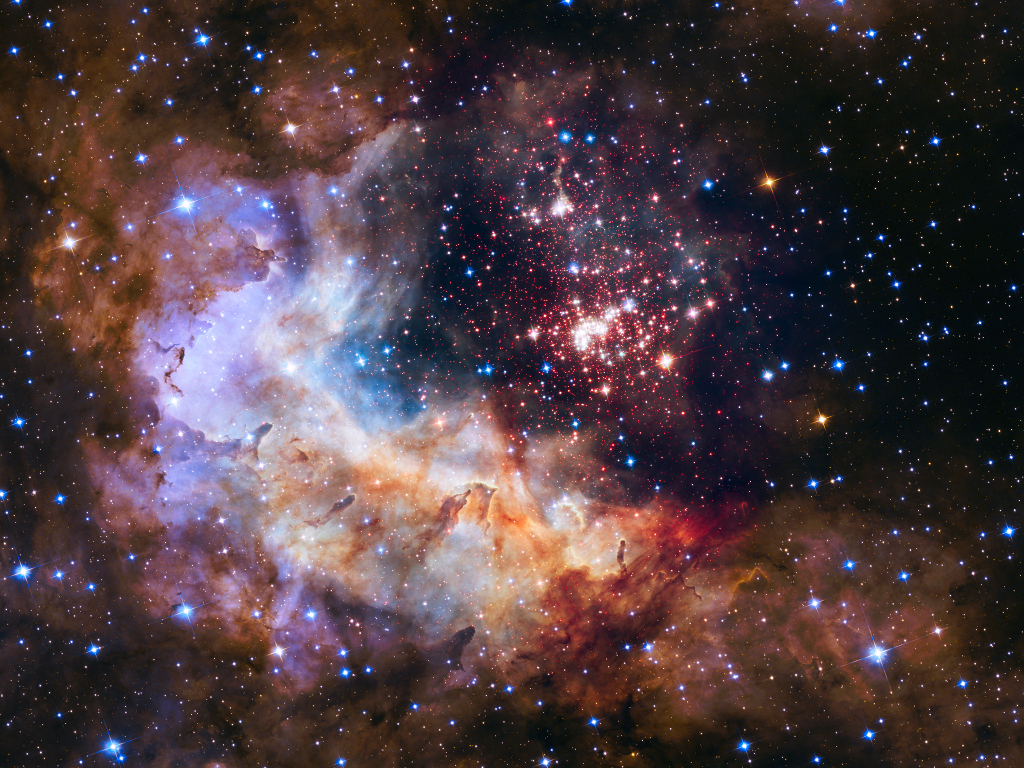
Highlights of observations in my area (and some not so much in my area).
While the aurora reached my area, unfortunately there was too much light to see it well enough.
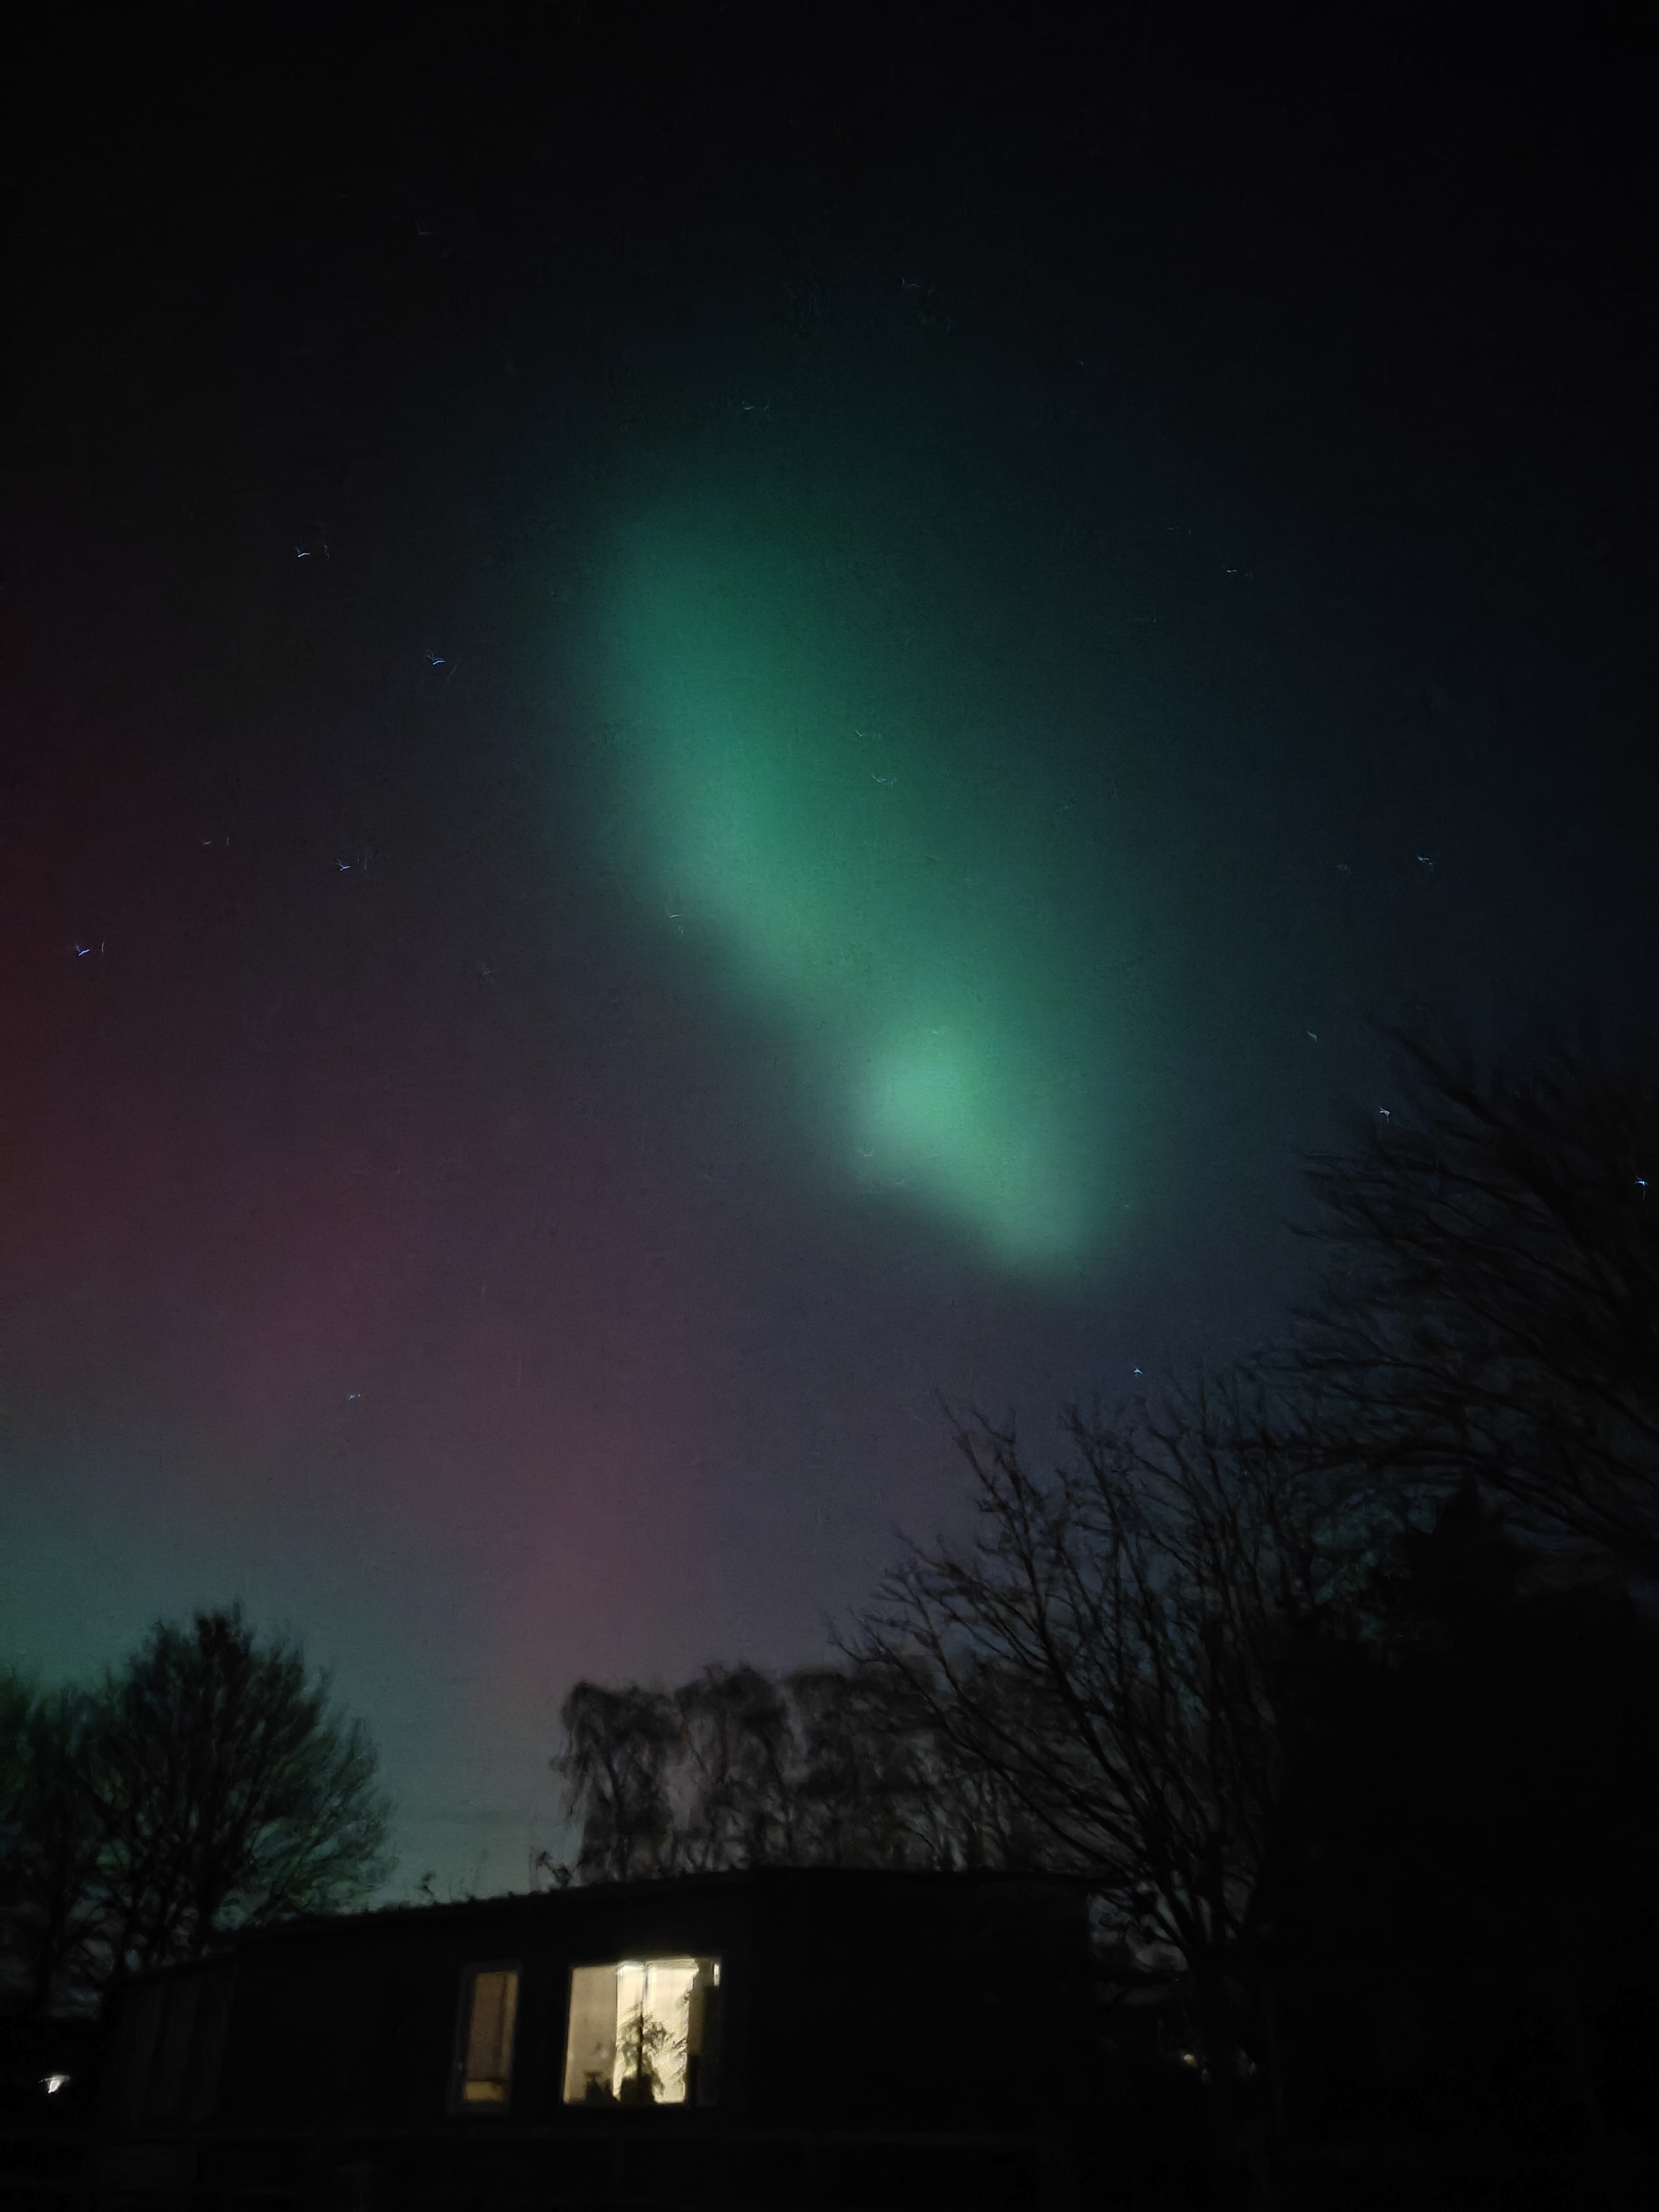
The next time aurora reached my area it was highly visible, few clouds and not extremely cold. Magical.
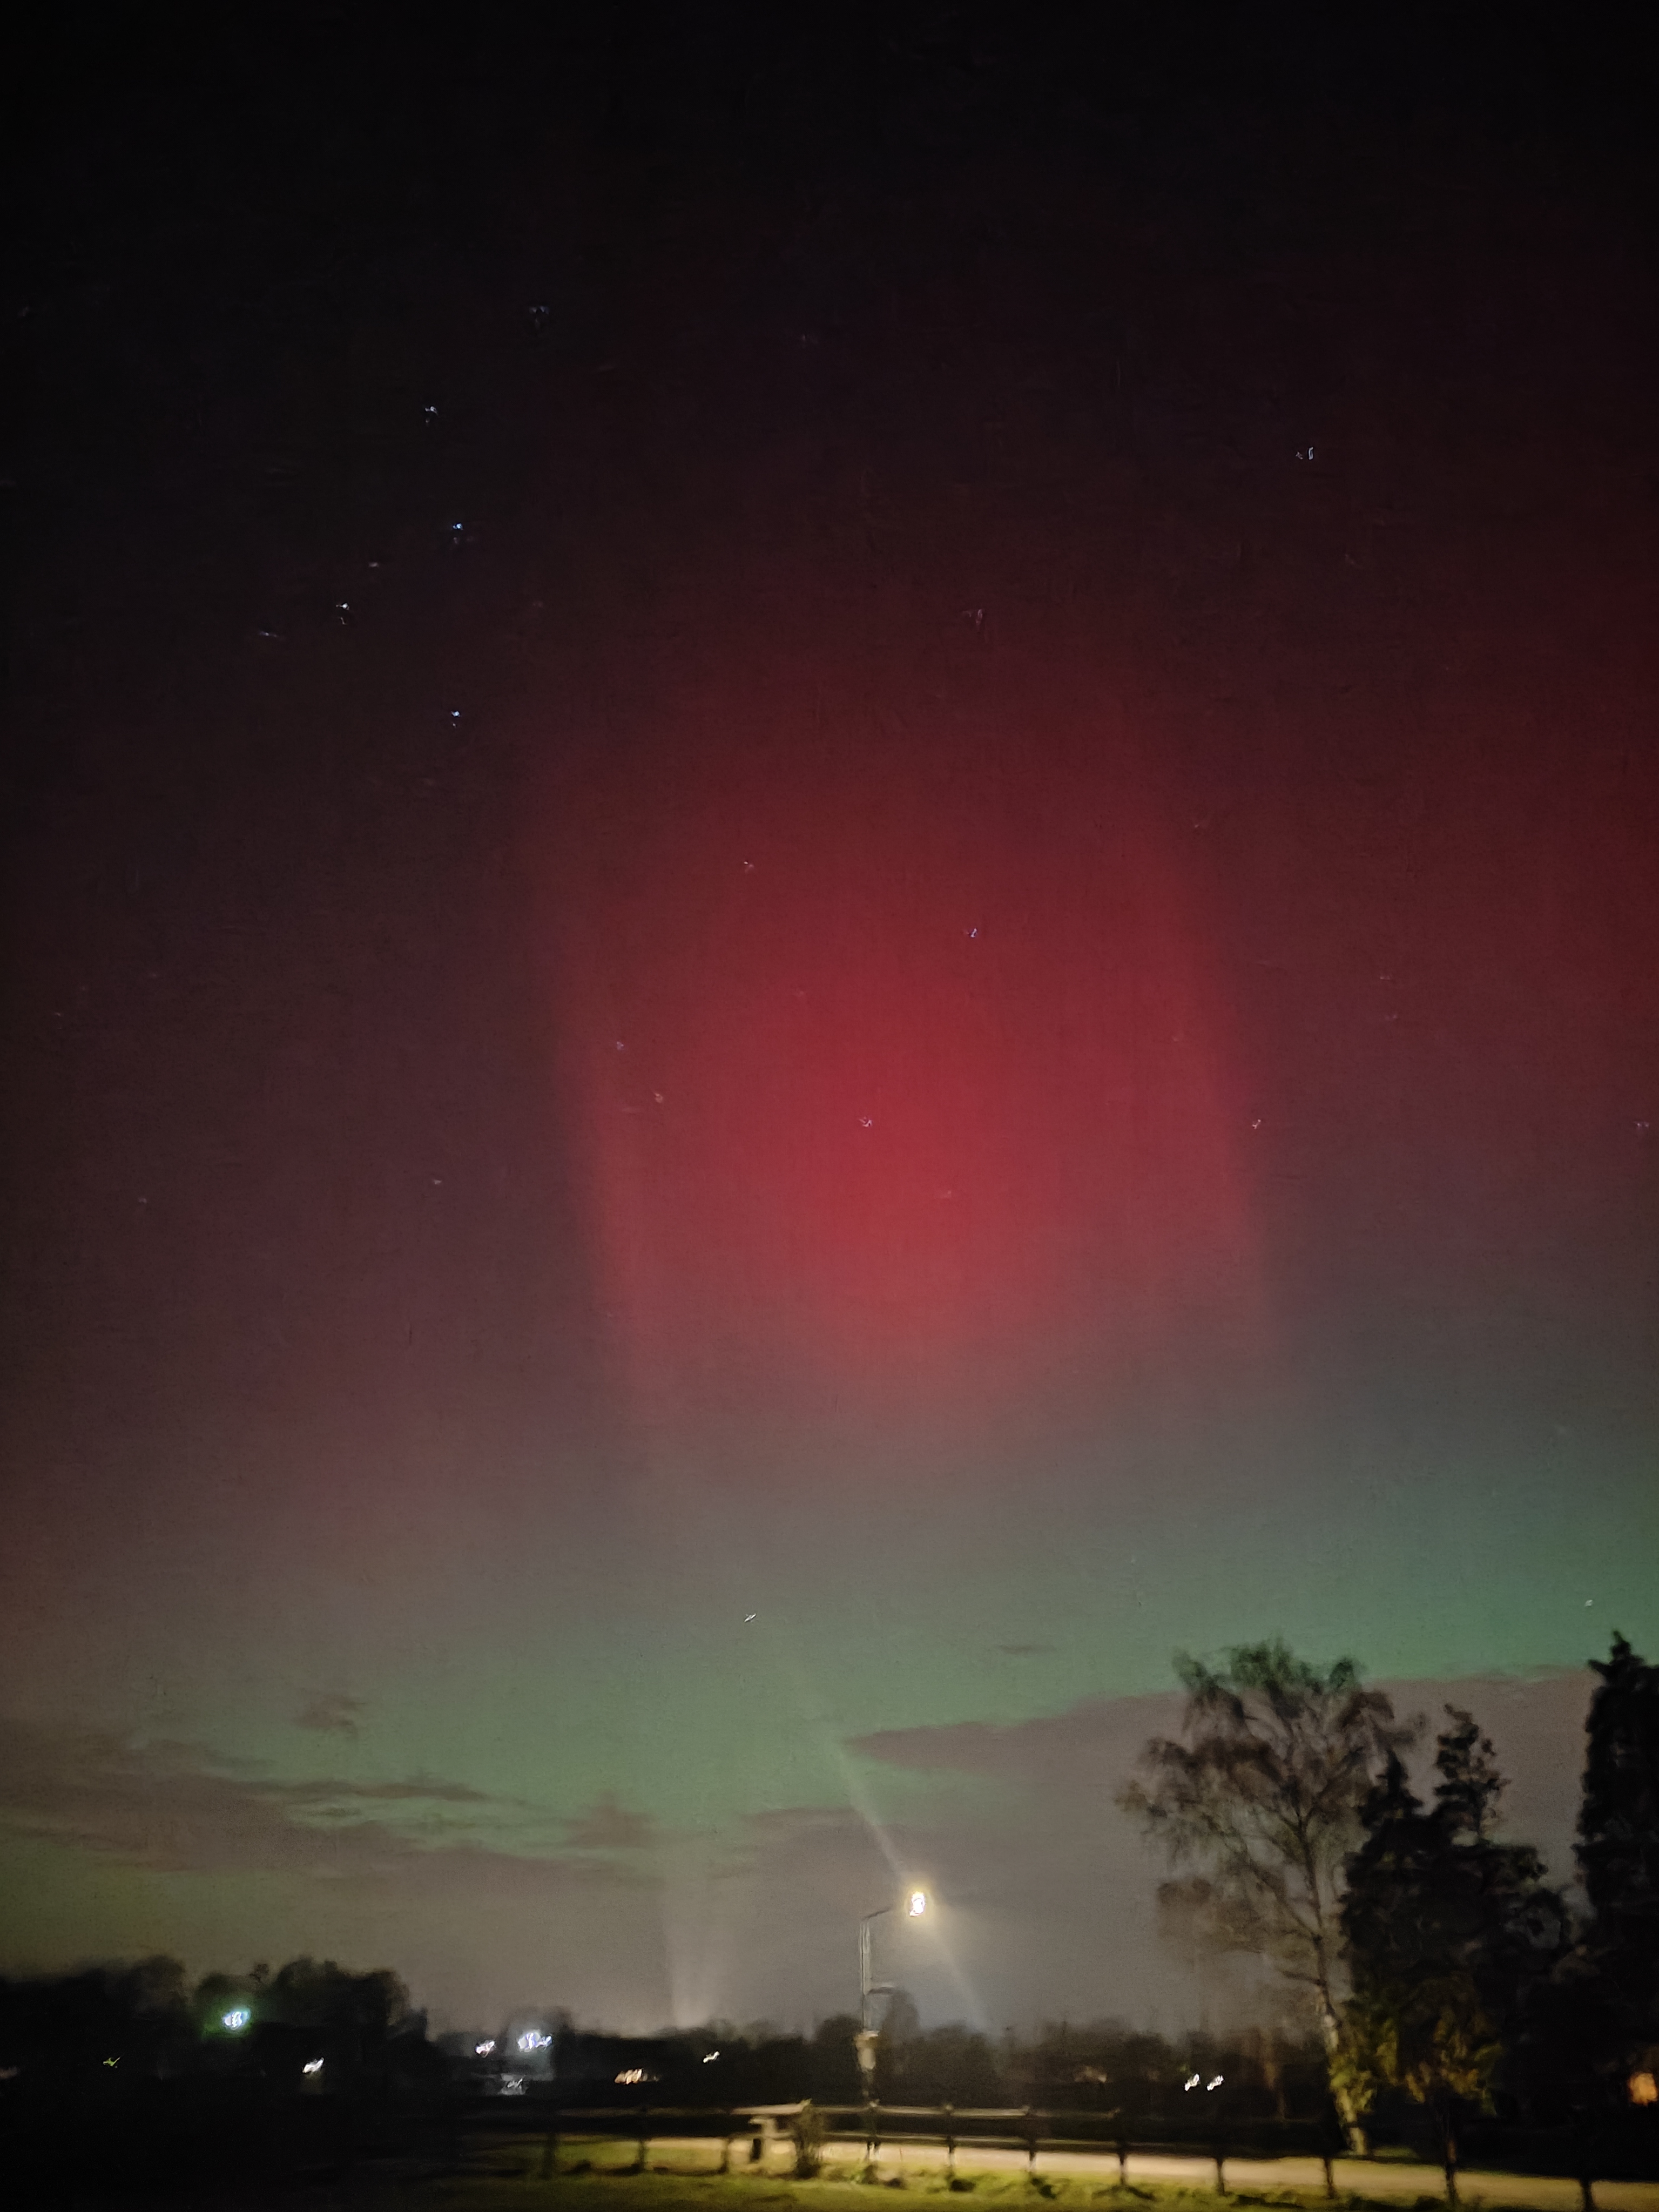
Just a phone picture, but I cannot get enough of how wonderful the colours are.
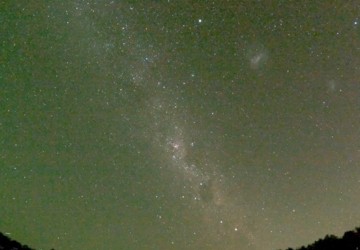
Using my GoPro I made a timelapse of the night sky in the southern hemisphere.

More images soon.
All of my main resources are linked here. It's good to know that all the steps I'm taking are based on ThomasJ1's original post on Instructables (link below) and all credit goes to them. Alterations may be based on suggestions from my friend or because the hardware has moved on since the original instructables post. I tried to give an overview compatible with Dutch stores, as that is the area I'm in.
As this project is currently still in build mode, I'll add content here of my own experiences as they come. A build journal can also be found in the gallery below.
If you are curious in the mean time, I highly recommend consulting the original Wireless All Sky Camera instructables page. Many thanks to ThomasJ1 for the clear instructions.
One of the main ideas behind the all sky camera is to keep track of nightly activities such as meteor showers and aurora. While we don't have those in the Netherlands very commonly, we have been lucky enough with some in recent years due to high solar activity. So the plan is not only to generate a timelapse of the activity, but also keograms and star trails to have a daily overview of the nightly activity so we don't miss any important timelapses. Luckily, the AllSky project has a very mature web UI once the software has been installed on the Raspberry Pi, so enabling that is just a toggle in the config.
Highlights of the project build.
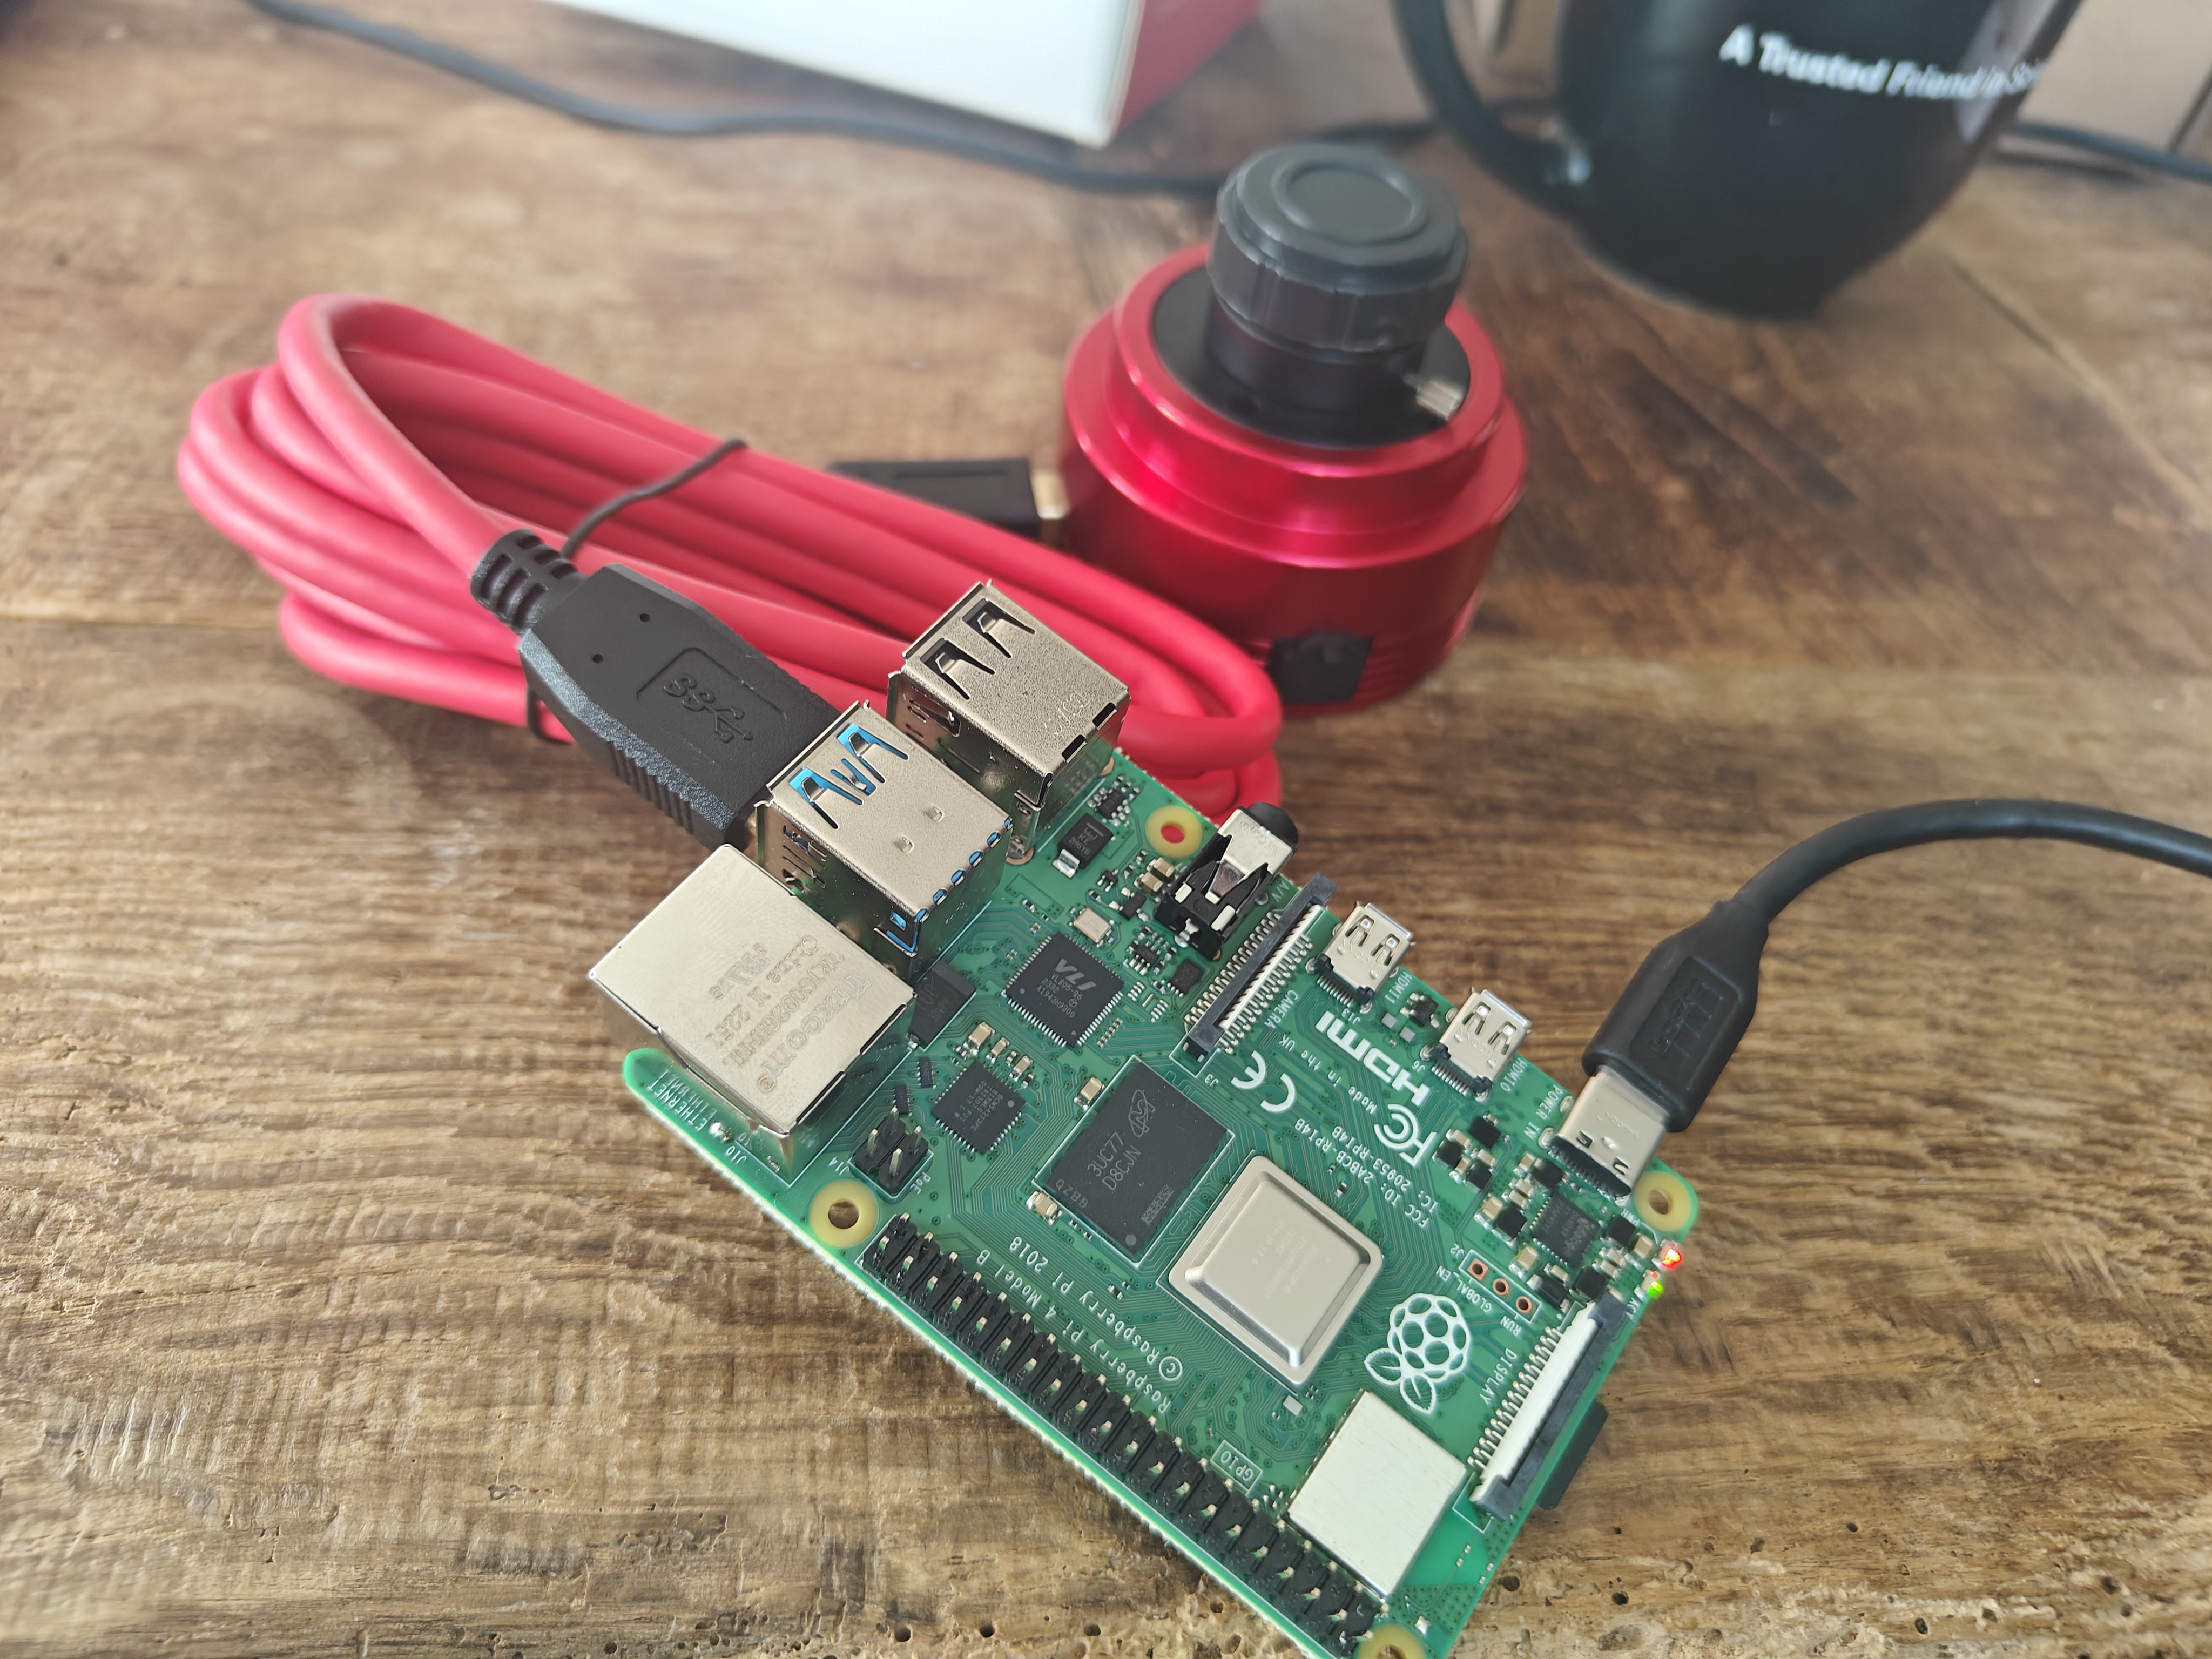
The first assembly and installation done. 3D printed prototype also fit well for the PVC pipe, but had some alignment issues with the dome itself. New version pending.
More images soon.